How to Use Green Screen in iMovie
If you enjoy working on a Mac and have a flair for making films, this article is for you. Here’s how to use green screen in iMovie!
What is Green Screen?
Known in the industry as chroma keying or colour keying, green screen is a technology of clever trickery and illusion and is easier to use than you may think!
It works off a basis of layering; a block colour screen is placed behind a person or foreground, allowing special effects and backgrounds to be dropped in during post-production by digitally removing the block colour and making it transparent.
A great everyday example of green screen use is the weather on television. The reporter stands in front of a green (or blue!) screen and weather charts and maps are digitally placed behind them to display to the audience. These bright colours are chosen as they are less likely to be worn by subjects/actors, as anything colour matching the green screen will become seemingly invisible. Avoid floating head syndrome by leaving your bright green suit firmly at home!
Why Green Screen?
Opting for the use of green screens is a brilliant budget saving technique. Not all filmmakers can afford to employ hundreds of extras or have the ability to film in vast open spaces. Equally, a story set during days gone by may not hold the budget for specially made physical sets, and so green screen assists in creating the illusion of travelling back in time with digital scenery.
How to Use Green Screen in iMovie
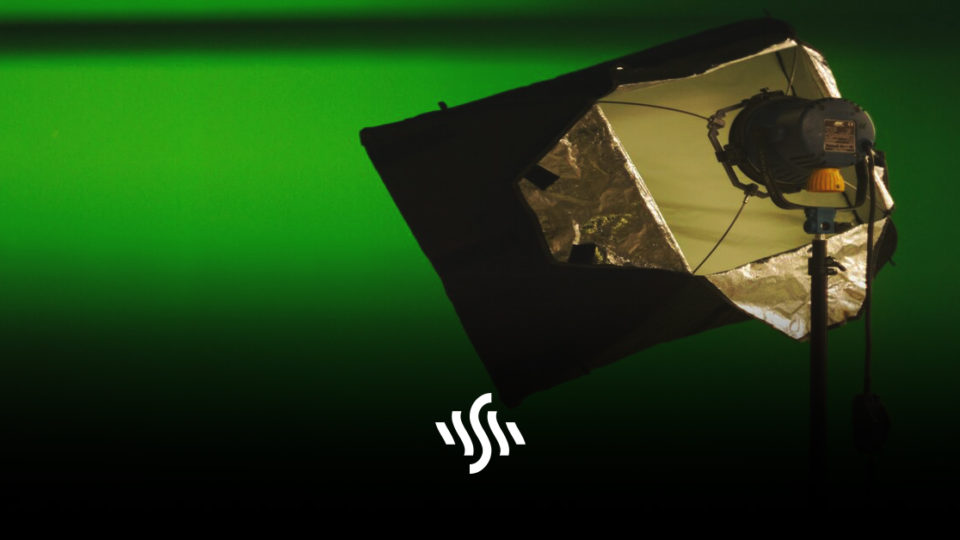
- First you will need to set up your green screen. You can purchase green screen kits online that contain the background, lighting and stands. However, you can also get away with using a sheet or even poster paper.
- Ensure the screen is evenly lit and that the subject is far away enough in front of the green screen so no shadows are cast. This part is highly important, as shadows will decrease the realism of the illusion.
- Set up your camera so the green screen is centred in the frame, and shoot your video! Be careful that the subject stays in front of the green screen in the shot.
- Once you are happy with your video, it’s time to upload and edit! There is a load of green screen editing software to choose from with varying degrees of complexity. Adobe Premiere Pro offers professional video editing whilst being fairly easy to navigate, and Davinci Resolve is a great free option too! For beginners, iMovie is super simple and easy to use.
- In an empty iMovie project, first select the background video or image you would like to use in My Media, and drag this into the timeline. Then drag your green screen footage into the timeline above your selected background image. Make sure these two clips are the same length of time as one another.
- Simply select your green screen footage in the timeline and head to the video overlay settings in the preview window. You will see a dropdown menu – here you just need to select Green/Blue Screen, et voila!

- Adjust the final look of the video using the Softness and Clean-Up tools, and there you have your super simple yet super effective green screen video.