Hyperlapse vs Time-Lapse | What’s the Difference?
Are you searching for new ways to expand your videography skills? We’re looking at hyperlapse vs time-lapse, two very cool techniques!
You’ve probably heard of time-lapse videos before. If you’ve ever watched any kind of tutorial on YouTube, chances are you’ll have seen time-lapse in action. It’s perfect for speeding up segments of videos, saving time and avoiding any dull areas. Equally, it creates really amazing effects, particularly when it comes to stargazing!
If it’s a technical definition you’re after, time-lapse is a technique where frames are captured at a slower rate than normal (24 frames per second is the standard). These are then viewed back at a faster rate, creating the effect that time is moving faster and thus lapsing.
You can create your own time-lapse videos surprisingly easily in most video editing software.
Hyperlapse vs Time-Lapse
Typically, time-lapse videos are shot on cameras mounted on tripods. The original photos or video that is taken tends to be stationary. Sometimes cameras are mounted on a slider, or a motion-control head. Even with these mounts, the camera pretty much stays in the same spot.
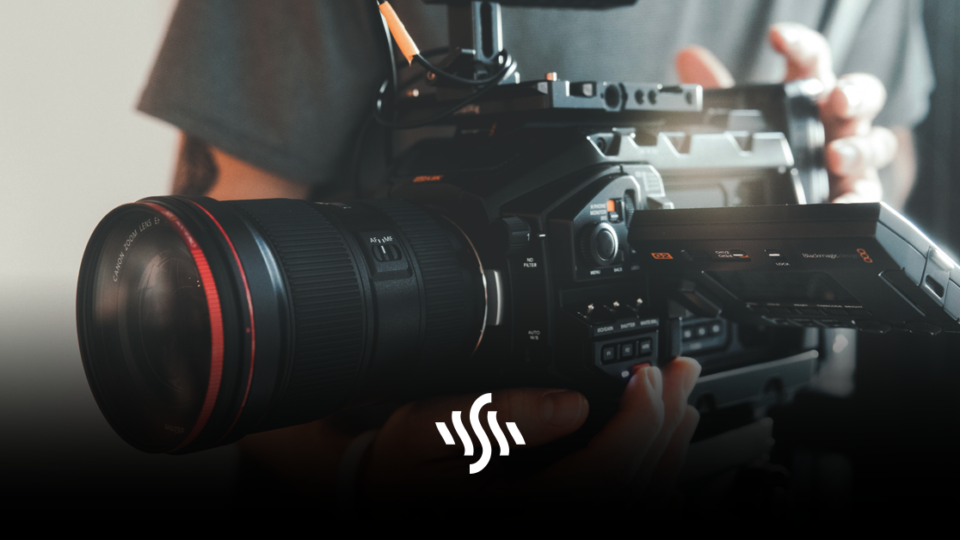
The biggest difference when it comes to hyperlapse vs time-lapse is movement. When shooting a hyperlapse video, you’ll be moving through space. You can do this on a hand-held camera, or even a phone with a decent camera!
Movement, paired with sped up footage, creates a beautiful and epic flying effect. You can glide through scenes steadily, whilst life moves quickly along in the frame.
Hyperlapse is an awesome technique to use in all kinds of projects, from commercials to movies.