Top Tips for Cinematic Drone Videography
Thankfully, you don’t need a helicopter or huge crane for cinematic shots. Here’s how to nail drone videography and capture stunning footage for your videos.
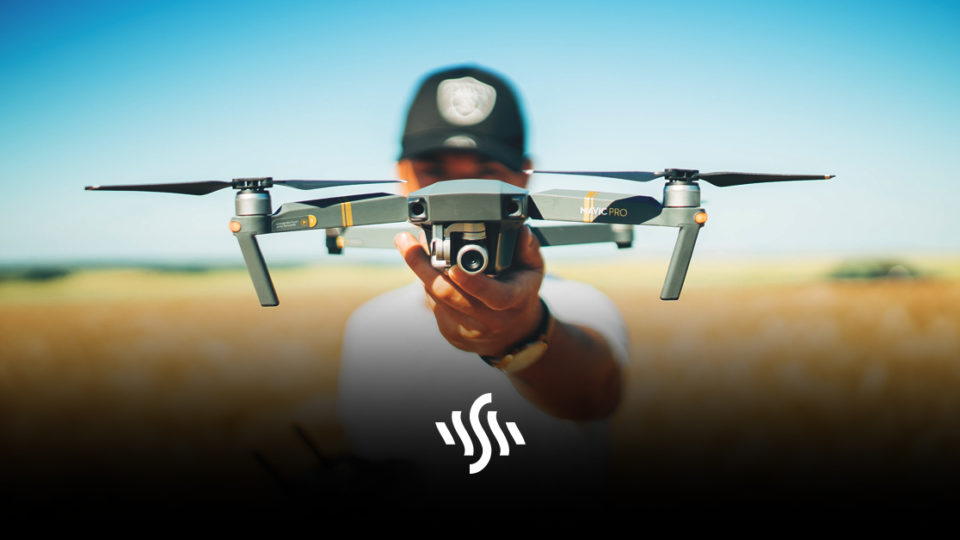
Whilst drones are exactly cheap, you can get hold of some affordable ones. There are drones out there to suit a range of budgets, and they’re all more affordable than a helicopter. These flying camera mounts are perfect for capturing aerial shots, sweeping landscapes, and filming out of reach places. They’re a sure fire way to add professionalism to your project, as well as create a really engaging video. Using a variety of shots in videos keeps things interesting, and what’s more interesting than angles people simply wouldn’t be able to see themselves?
Flying drones is a different ball game to working with a tripod or a handheld camera. You’ve not only got to have a good eye for composition, you need to be a good pilot too. If you’re new to drone videography, check these top tips to get you off the ground!
Plan the Shots
Just like a regular shoot, you should plan out every detail of your drone video session. If you have a solid idea of what you hope to get out of the shoot, this will help guide your planning. You need to consider the weather – drones and wind aren’t always the best of friends. It’s also important that you check safe places to land, that are open and away from busy areas.
Taking the editing process into consideration will also help you to figure out the kind of shots you need to get.
Check the Rules
Since you’re flying an object, you must be aware of the flying regulations and rules around airspace. If you’re filming next to an airport, you could land yourself in trouble if you just turn up and fly. Each country has different rules around this, and certain locations will also have further rules. Be sure to do your research and avoid any problems. Here are the UK drone regulations.
Nail the Lighting
When shooting outdoors with a drone (we highly recommend you stick to flying outdoors) you can’t control the lighting like you would in a studio. You’re at the mercy of the unpredictable and ever-changing weather. If you’re from the UK, there’s no telling whether the sky will be cloud-free for long.
Check the weather forecast and be prepared to have to adapt to different natural lighting. Lots of drone videographers choose to shoot at “golden hour” for the best results. Shortly after sunrise or just before sunset will give you lovely warm light.
Practice, Practice, Practice
You can’t expect to pick up the controller and nail drone videography right off the bat. Before you have just a couple of days left to shoot all your footage before the deadline, get out and practice flying your drone. Get comfortable with the controls and the movement of the drone, before adding in the clever camera angle and filming aspects. Whilst you can correct shaky drone footage to a degree, it’s best to get beautifully smooth video with controlled, skilled flying.
Take It Slow
Getting smooth footage is much more achievable if you fly slowly and steadily. Remember, you’re not drone racing, you’re shooting video. Cameras are sensitive and pick up on the slightest bump or wobble, so taking it slow will help reduce any unwanted faltering. Furthermore, crashing your drone could be an incredibly expensive mishap. Keeping speed down and staying in control makes this far less likely.
Opt for 4K
If you shoot in 4K, you give yourself much more wiggle room in the edit. You’ll be able to zoom further in on subjects from your aerial footage, without it resulting in awful quality if you shoot in 4K. Editing in this resolution can be slightly more challenging, but it’ll pay off.