
How to Film an Interview | Tips, Tricks & Kit
Interviews pop up in so many kinds of video project, so we’re shedding some light on how to film an interview like a seasoned pro!
Whether you’re into making your own documentaries, or you need to film branded content to build a business, knowing how to film interviews is going to benefit you hugely. We’re not so much looking at how you can conduct an interview here. Although having the right patter and questions prepared is important, we’re looking at the more technical side of things.
The content of an interview could be golden, and full of jaw-dropping exclusives. But, if it looks or sounds like garbage, people aren’t going to be so keen to watch it. Interviews may appear simplistic, often with a camera or two pointed at someone sat still. However, there’s much more to it than may first meet the untrained eye. With that said, filming an interview that both looks and sounds great doesn’t have to be complicated, or require loads of expensive gear. Here are some tips and useful bits of information on how to film an interview!
Location & Setting
You can choose to film an interview either in a studio, or on location. Both options have their advantages and disadvantages. If you film on location, you can pick a setting that is relevant to your interviewee, helping to convey their personality. This can also help set the overall tone of the interview and promote authenticity. For example, if you’re interviewing a political figure, shooting outside parliamentary buildings or in an officious setting makes sense.
However, shooting on location means you’re at the mercy of elements out of your control. If in a public space, changes in ambient volume levels could affect your audio set up. Equally, it can be much more challenging to get the correct lighting.
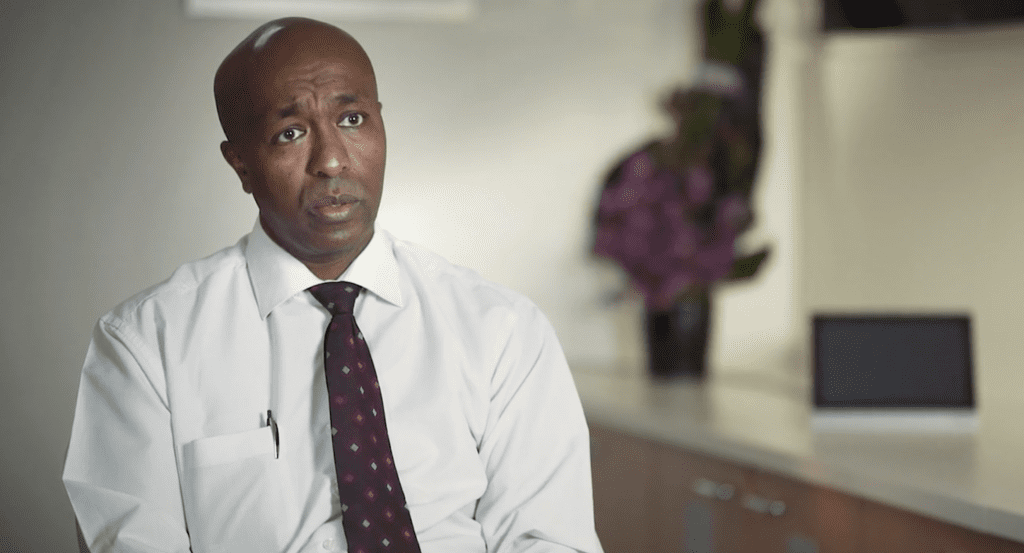
If you opt for a studio interview, you have much more control over things like audio and lighting. This setting might take away some character and personality from the shoot, however. There are workarounds though, with things like clever set dressing or even using a green screen.
Framing & Angles
Generally, interviews consist of a combination of medium and close up shots. This is so the focus remains on the interviewee, and there are no background distractions. Scene setting with wide angle shots isn’t necessary, as the viewer should be more interested in the speaker than their surroundings. You can check out this article from Business 2 Community for more detailed information of the types of shots that work well in interviews.
When thinking about how to angle shots in your interview, the safest move is to film at eye level to your subject. It’s a very standard angle, common in commercials, educational content, and commentaries. In terms of where your interviewee should look, looking directly into the camera can feel unnatural. Unless you’re going for a very The Office vibe, getting them to look past the camera is wise. If the interviewer is sat just beside the camera, this can give a much more natural spot for the interviewee to aim for.
You can experiment with different angles if you’re looking to convey a certain emotion or effect. For example, filming someone from a lower angle to make them appear formidable.
Lighting
There are so many different lighting options when it comes to considering how to film an interview, we could write a whole article on it. And you know what? We might do just that. For now, we’re just going to outline some basic concepts that you should consider, in order to get well lit, good looking interviews.
Your lighting set up will vary hugely on the kind of look you’re trying to achieve. Also, whether you’re playing with natural light will heavily dictate what you do. If filming in direct sunlight, you can diffuse any natural light with sheer curtains.
Thinking about 3 point lighting will help you to achieve nicely balanced lighting for an interview. This is where you have a key light, back light, and fill light. The key light is your primary lighting source, and tends to be the brightest and closest to your subject. The fill light tends to be less bright and further away, but placed opposite your key light. It does exactly as the name suggests, and fills out the rest of the light on your subject. Finally, the back light, unsurprisingly, is placed at the back behind your subject. This helps your subject to stand out against the background. You can play with different positioning in order to achieve the effect you want.