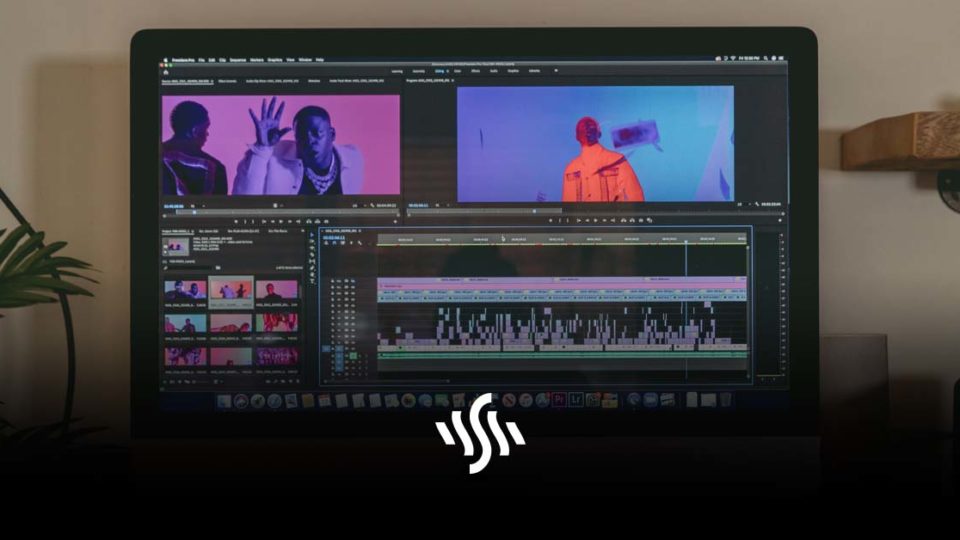
What Are LUTs in Video & How Do You Use Them?
Entering the world of colour grading can mean a steep learning curve. We’re here to help, and explain what LUTs are and how you can use them in your video content!
When filming anything, be it a shorter video for YouTube, or your first feature length film, there can be an awful lot to think about. There’s the concept, script, filming, and all the steps in between to get out of the way first. But, then comes the editing.
Editing is where you can really inject your style into your video project, and transform the way the images appear. Colour grading can be an incredibly intricate process, so if you don’t have a tonne of know-how it can be a daunting process. DaVinci Resolve is a fantastic free video editing software with incredibly powerful colour grading capabilities, making it a great one for newbies. It can be a tricky one to get a handle on, although there are lots of good tutorials out there for it.
LUTs can make the colour grading process much smoother and speedier. Let’s dive into exactly what they are!
What are LUTs?
Short for Lookup Table, LUTs are a tool that editors and colourists use to save particular colour grades as a template. A LUT is a conversion profile that takes a colour value from your original file, looks it up in a table (hence the name), and returns a new colour value.
They differ from a preset due to the fact that they can “remap” colours and tones in a way a preset would struggle to do. Another great thing about LUTs is that they won’t change any image adjustment tools in your software, unlike presets.
LUTs are added after you’ve colour corrected your footage. They won’t fix any issues like under exposure, so it’s important to carry out these steps in that order.
How to Use LUTs
LUTs are software independent, meaning whichever video editing software you prefer, you can use your favourite LUTs with them.
This video from Peter McKinnon, photographer and cinematographer buff, explains just how you can use LUTs to transform your visual projects.
This video will walk you through what LUTs look like, when you can use them, and how to get the most out of them.
Hopefully now you understand a little more about colour grading than you did before. Your video projects will be looking more aesthetic and professional in no time!
